Smartphones are getting better at recognizing scenes and making adjustments for us. However, many times it’s hard to rely on the onboard computer to capture the vibe you see and tell the story you have in mind.
For example, sometimes you may intentionally want your night mode shots to be darker to suit your aesthetic point of view, but the built-in night mode may just brighten up the scene to its best capabilities.

Thankfully, most smartphones provide us with a ‘Pro’ mode to give us control over our images. You can always play with different elements to match the image to your vision.
While the night mode image focuses on making things brighter, I was able to create the image the way I wanted by keeping the shutter speed and ISO a bit lower.
Without further ado, let’s take a closer look at how you can take advantage of the controls you have and create wonders.
Create wonders with Pro mode
Balance the shutter speed and ISO according to the movement of the subject. Creeate light trails with long exposure and moving lights. Additionally you can change the white balance and focus malually.
Light trails
This is one of the great use cases for long exposure shots.
The phone is kept still with the help of a tripod or by placing it on some stable objects. If the background is dark, you can increase the shutter speed to create motion blur without overexposing the background.
There is no specific shutter timing; it depends on the movement of your light source. But you can easily figure it out with a bit of experimentation.
Ultimately, it’s fun to create those images that don’t even exist in reality.
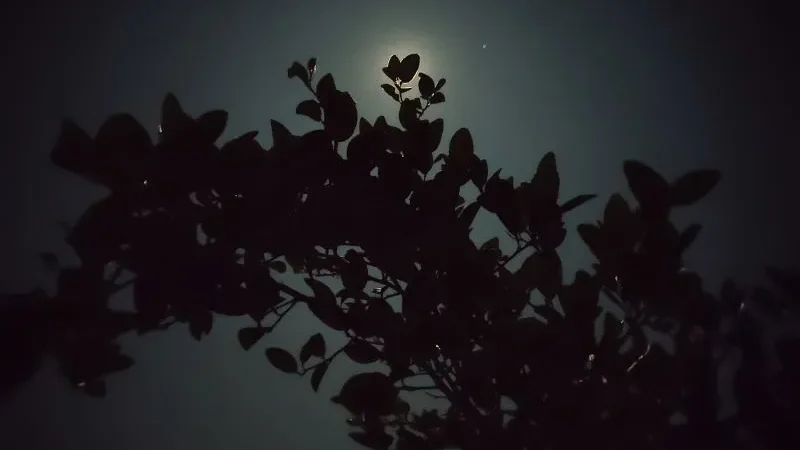
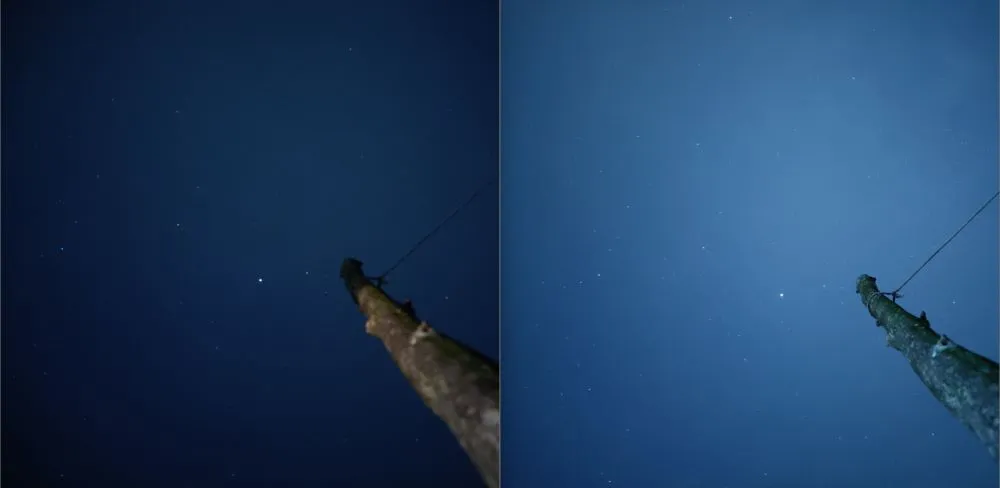
Brighten up your night to the next level
This is one of the main advantages of the pro mode. While night mode enables you to take handheld shots, the pro mode takes it to a whole new level when the phone is kept still. You can tweak the shutter speed and ISO, and with a bit of trial and error, you’ll be able to take much brighter images than with the dedicated night mode.
In extremely dark situations, the phone still captures good images where the night mode barely works. I compared the night mode with a long exposure shot in a very dim situation, and here’s what I found.

Besides having brighter images, you also get the opportunity to change the focus manually, whereas in night mode, you have to rely on the system. In dim situations, the system often struggles to focus on the subject. While the night mode is convenient, the long exposure shots are more flexible.
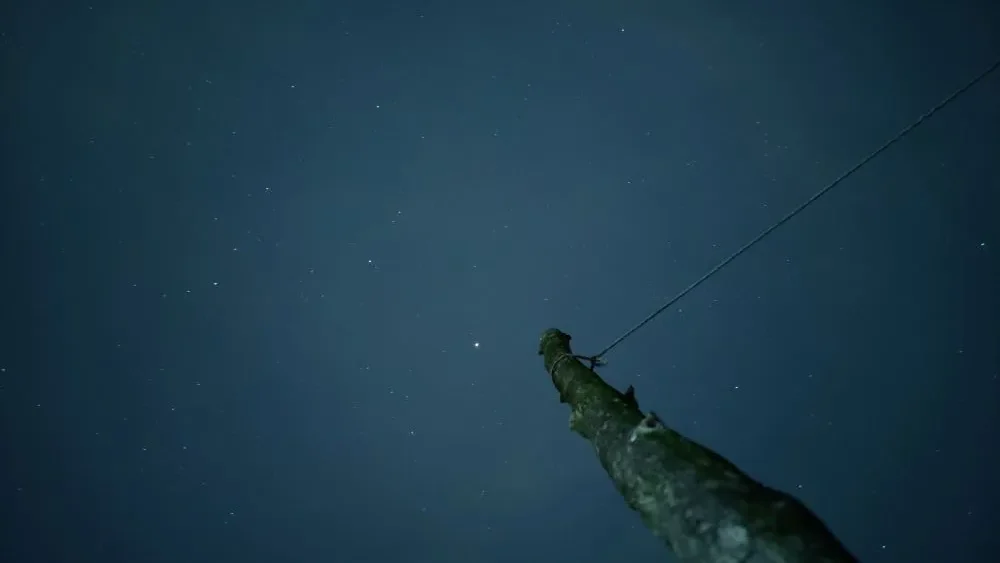
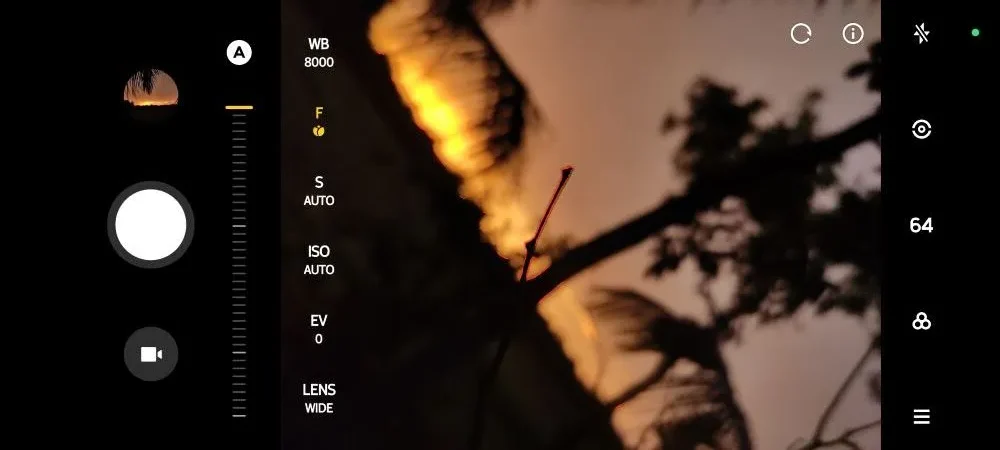
Capture a lightning strike
It almost feels impossible to tap the shutter after seeing the lightning and capturing it. However, with a clever trick, you can actually do that (sometimes).
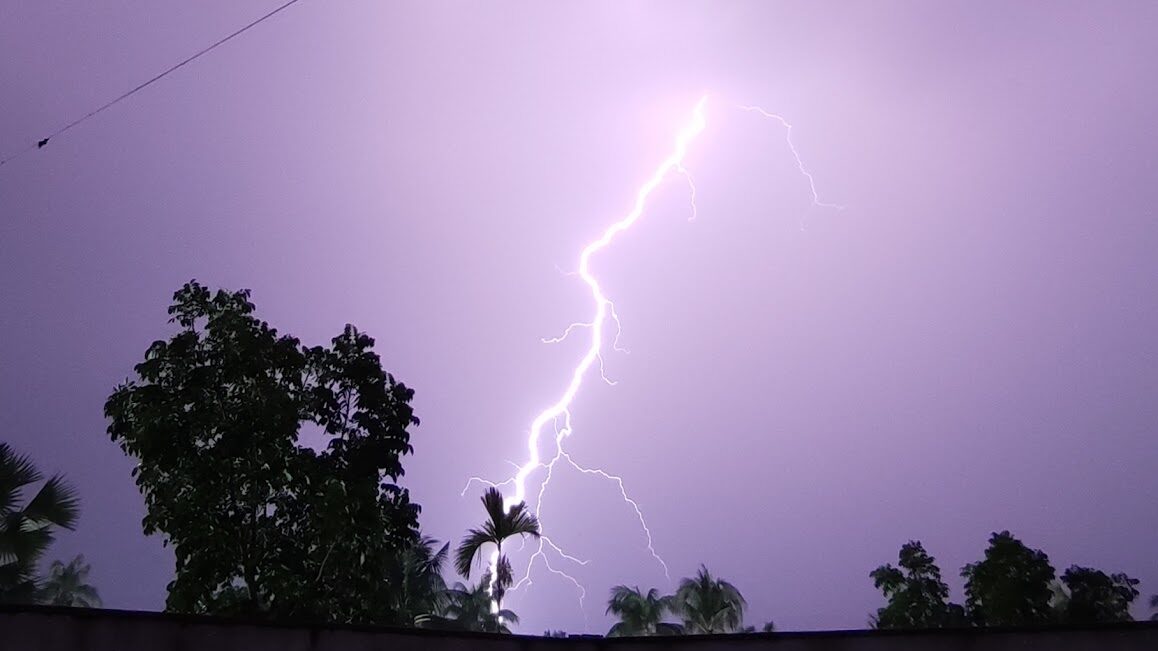
.When there is a lot of lightning strikes happening, place the phone steady pointing at the sky, set the shutter to the maximum and ISO to the minimum and tap the shutter.
You can go with the the ultrawide lens to avoid over-exposed shots and to increase the field of view as well.
Its important to note that even with the lowest ISO still some sparks may be overexposed based on the light sensitivity of the device you’re using.
Shooting with raw mode
It gives you more flexibility while editing as it stores the full information captured by the sensor. You can tune the image the way you visualized. It’s important to note that the RAW image contains unprocessed data, so the colors may not look appealing before editing.
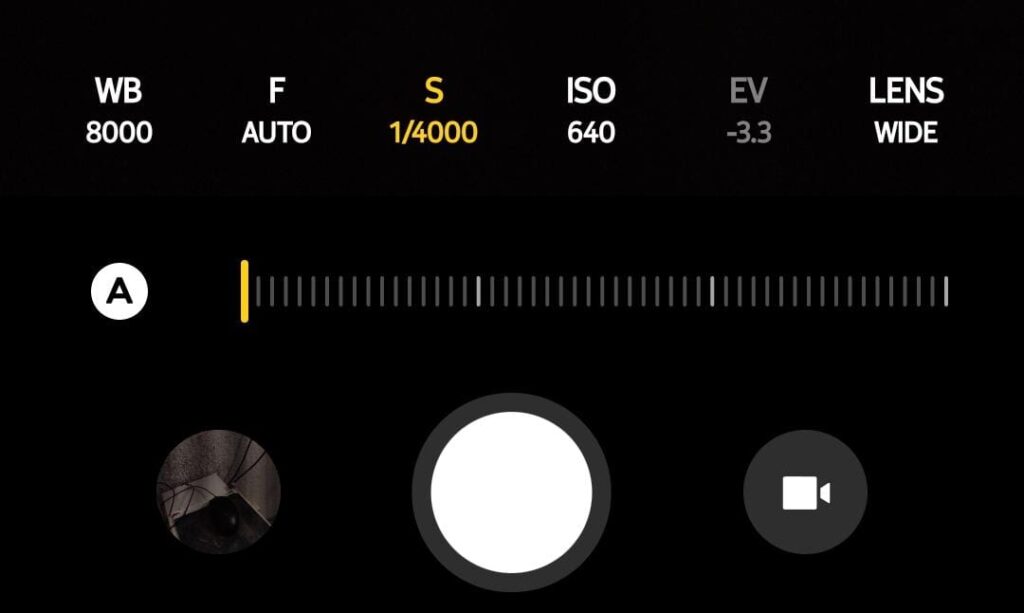
Controls you have
- Balance shutter speed and ISO – manage brightness and noise
- Change the while balance to suit the vibe
- Focus onto finer objects with ease with manual slider control
Controlling the light
Based on the scene, you may want a brighter or dimmer image. You can play with the shutter and ISO values to match your vision.
As I just showed above, you can always control the shutter speed and ISO to adjust the brightness. By increasing both the shutter speed and ISO, you can make the image brighter (or reduce the slider to make it dimmer).
You can achieve the same brightness with different combinations of shutter and ISO values. Here comes the main thing: opening the shutter for too long (higher value of shutter) may cause blurry images if the subjects aren’t still. On the other hand, keeping the ISO level high means grainy or noisy images.
If the subject is moving, you want to keep the shutter low to avoid a blurry image. Now, if the situation has enough light, you can actually increase the ISO and reduce the shutter (slider to the left) to get a crisp shot even if the subject is moving.
On the flip side, if there’s not enough light, you would prefer to keep the ISO levels lower. If the subject isn’t moving and you can keep the phone still (not even a tripod, books are enough), you can increase the shutter opening time to capture more light (slider to the right). The image will be bright and also have low noise.
There’s also an option called EV (exposure value) which controls the overall brightness by adjusting both the shutter and ISO based on the computer’s knowledge and understanding of what’s best for the situation. You can keep specific settings in ‘auto’ in pro mode too, but if you tweak both the shutter and ISO, then EV has no function as both the exposure and ISO are fixed.
The best thing is, you can make the images look exactly how you want with a but of trial and error.
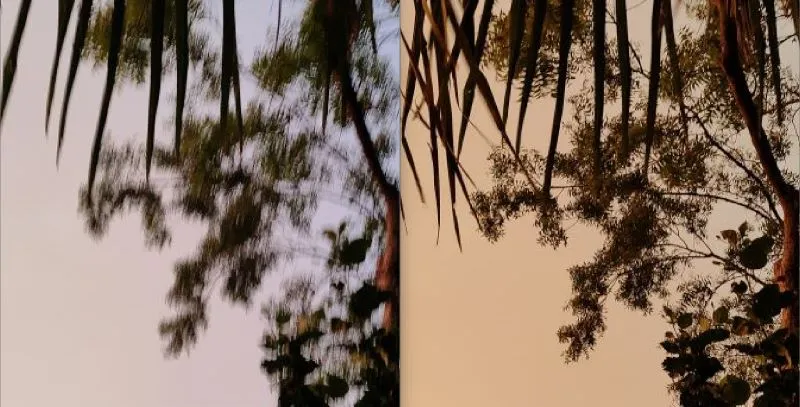
Tweak the white balance
The white balance control puts you one step further to give the image a look you want.

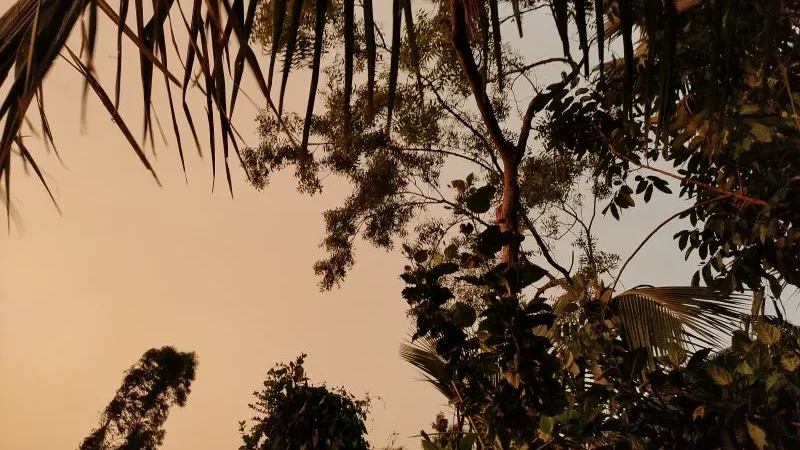
I was able to bring the worm color tone by changing the white balance to the cloudy preset. You can also use the slider to play around and match your vibe.
Also, notice that the image shot in normal mode is subjected to motion blur. It was windy, so I had reduced the shutter speed and managed the brightness by increasing the ISO. Of course, the image became a bit noisy, but it still looks great if you don’t pixel peep.
Focus on fine things
There are some instances where you find it hard to focus on fine details, especially when the background has a lot of structures. In such scenarios, the pro mode enables you to manually adjust the focus slider to focus on any point within its range. Many devices also highlight the objects in focus within the preview. It’s very convenient to move the slider and focus on the finest things with no issues.
Conclusion
By experimenting with the controls in pro mode, not only do you create images that tell the story you want, but you also get to know the camera better. The more you play with it, the better you get at utilizing the pros while avoiding the cons of different camera settings and lighting conditions as well.